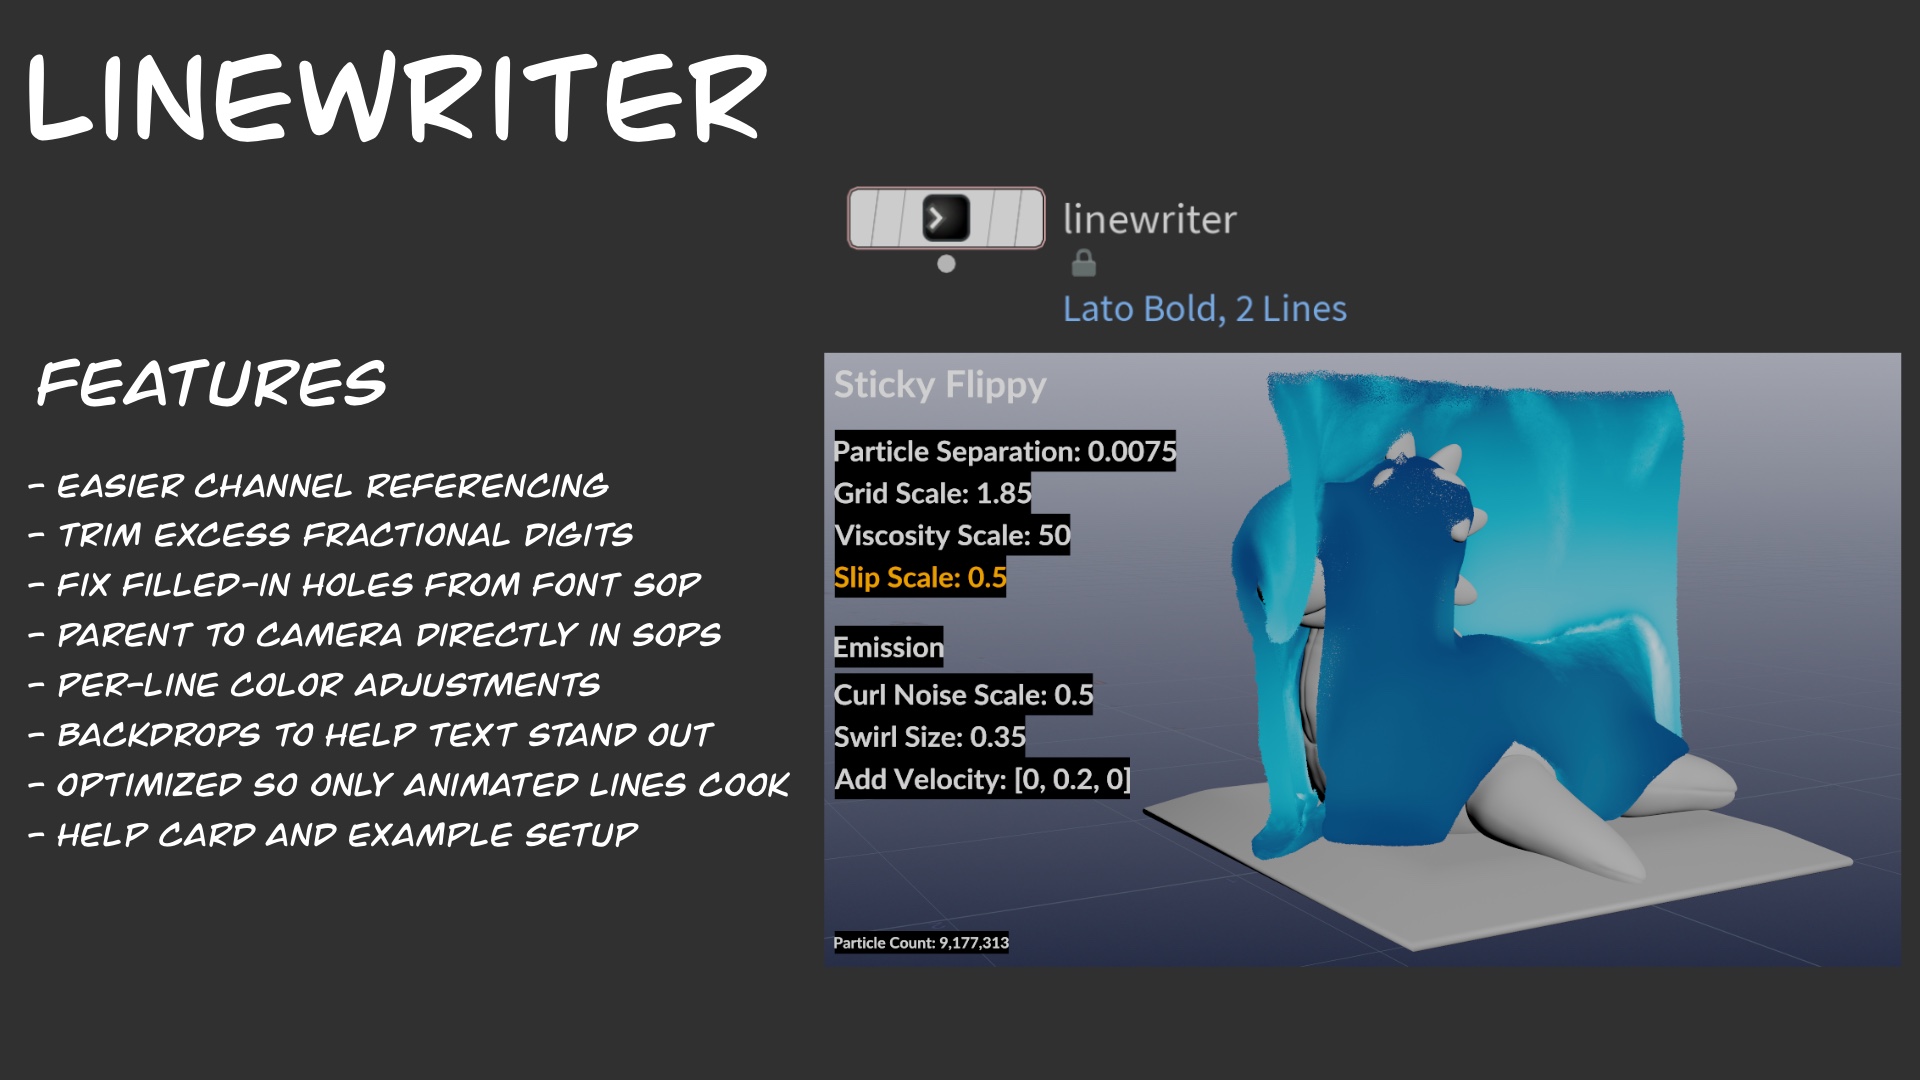
Linewriter
Linewriter is a simple SOP that adds some functionality around the built-in Font SOP. It is most useful for creating text labels in the viewport for recording parameter values when flipbooking wedges etc.
This node was built in
Houdini 19.0.455. While there is a version for Houdini 18.5, it will look and perform best in Houdini 19+
On macOS with UI scaling on, some parameters may not line up in a pretty way in Houdini 19.0. This has been reported to SideFX.
Problems with built-in Font SOP
There are a few slightly annoying gotchas when making HUDs/Overlays out of the Font SOP for recoding parameter values etc.
1. Font SOP doesn’t play well with channel references
When you’re building a HUD/Overlay with the default Font SOP, it can be tedious adding channel references, since when you RMB > Paste Relative References, it tends to blast away everything you had in there already. So instead, you need to copy the path to the parm someplace else, and paste it in.
Channel referencing on the Font SOP can be tedious
Linewriter uses a single-line string parameter, where this doesn’t seem to be an issue.
Much easier with single-line string parameters!
2. Float values are over-precise
This blog post
goes over this more, but in short - a lot of times you see what should be a simple parm value like 0.025 being represented in a string parm as 0.025000000000000001. This is distracting, and wastes a lot of on-screen space.
Each line of line-writer has a button that tries to “ftrimify” your line.

ftrimify line
It looks for each ch() or chs(), and wraps them up in an ftrim(). This helps cut down the numbers to max of six floating point digits. There is also a button under the Extra folder that will run it over all the lines at once.

ftrimify all button
ftrimify all in action
3. Font artifacts
Sometimes you’ll make a nice looking overlay, only to have a few B’s or D’s get their holes filled in. They look fine at the origin, but when parented to the camera, they look all wrong.
I’m not sure what the exact cause is (some sort of precision thing I imagine), but the solution is simple: Pack up your Font SOP at the end. All the characters with holes will appear as they did before transforming (Linewriter does this per-line, as well as one final pack at the end).
Other times, the artifacts are a direct result of the Font SOP itself. In this case, there is also an option to fix these holes, though it does decrease performance.
Hole fix option
4. Limited coloring options
If you have a few key lines that you want to stand out, you have to either make a few extra Font SOPs, or group the characters manually and color them later.
Linewriter lets you set a base color for the whole block, and override per-line as needed.
5. No background color options
Look at Nuke’s Text node options and you’ll see a tab called Background. This is very useful for when your text is occluding some of your scene, and becomes difficult to read. Linewriter adds an optional background behind each line to make sure the text stands out.
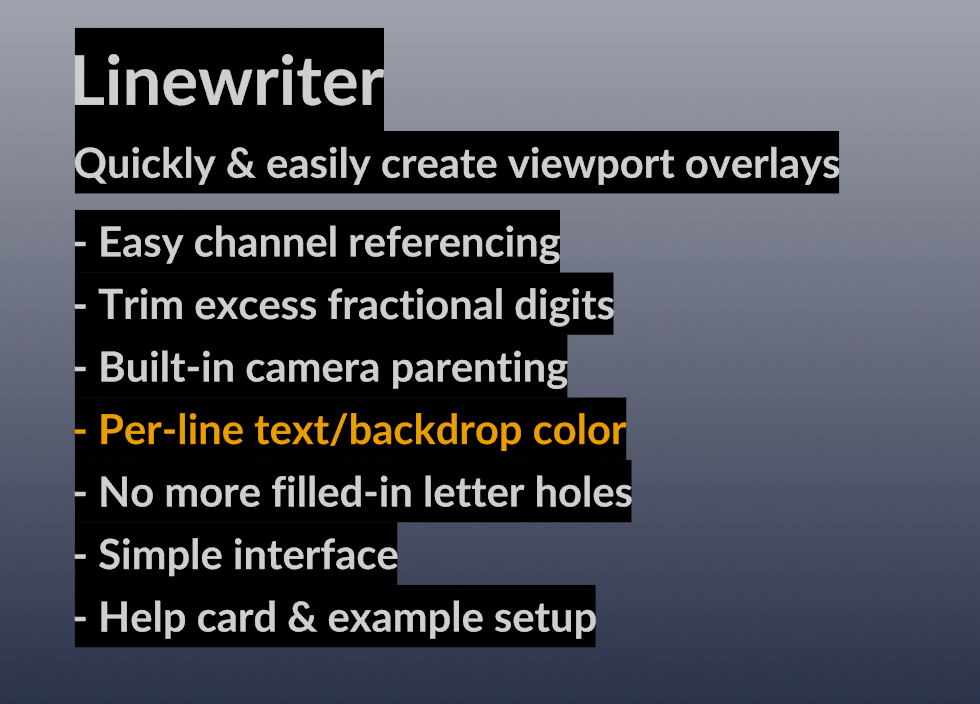
Backgrounds and Colors
6. Performance
In a single Font SOP, if even one of your referenced parameters is animated (time-dependent), it will cause the whole thing to recook each frame. For single lines, this isn’t a big deal. But with bigger, monolithic Font SOPs holding a whole slew of data for your overlay, this can be a little bit of a bottleneck.
Linewriter optimizes this by splitting out lines that are time-dependent from the ones that aren’t, so only lines with animated data will recook.
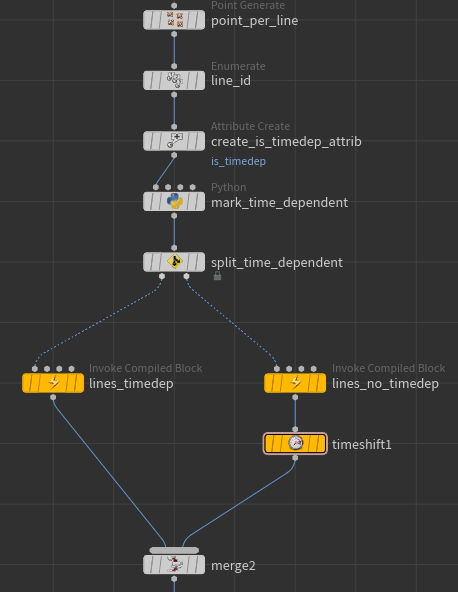
Split time-dependent lines
Other Features
Transform into Camera
If you provide a camera object, you can parent your text to a camera directly in SOPs from Linewriter.
Look through the camera, select the Linewriter node, and hit enter in the viewport to activate the transform handle and move the text into place.
Parenting to a camera
Help Card
Check the help card for extra info about each parameter
Embedded example setup
Extra > Load Example Setup
A demo setup is included to show how this node can be used

Load Example Setup button
Constant Shader
There is a simple constant shader inside that is applied to the all of the Linewriter geometry. This ensures that it doesn’t receive shadows, and that the text colors are as bright as possible in the viewport.
Installation
Method 1: Houdini Packages
Installation is simple with Houdini Packages.
- Download the latest release here.
You can clone the repo if you’d like instead.
- Navigate to your houdini user preferences folder and into the
packagesdirectory (if thepackagesfolder does not exist, create it).1$HOUDINI_USER_PREF_DIR/packages - Copy the zip archive here and extract its contents.
- Move (or copy) the
linewriter.jsonfile to the parent directory$HOUDINI_USER_PREF_DIR/packages. Yourpackagesfolder should now look something like this:
| |
- Launch Houdini.
Method 2: Manual Installation
Download the latest release here.
You can clone the repo if you’d like instead.
Navigate to wherever you load digital assets from
$HIP/otls,$HOUDINI_USER_PREF_DIR/hda,$HOUDINI_USER_PREF_DIR/otlsetc.Copy
jamesr_linewriter.hdafromhoudiniX.Y/hdainto the location you chose in Step 2.Launch Houdini.
Method 3: Install to Current Hipfile
- Launch Houdini.
- From the main title bar, select Assets > Install Asset Library.
- Navigate to wherever you downloaded the repo/zip archive and select the HDA for your version of Houdini from
houdiniX.Y/hda/jamesr_linewriter.hda - Select Install or Install and Create.