Template repo for creating simple (or not so simple) Houdini Packages.
Overview
This repo is meant to be a quick jumping off point for creating a Houdini package. You likely won’t need everything in here, but several common files and folders have been included as a good start.
Getting Started
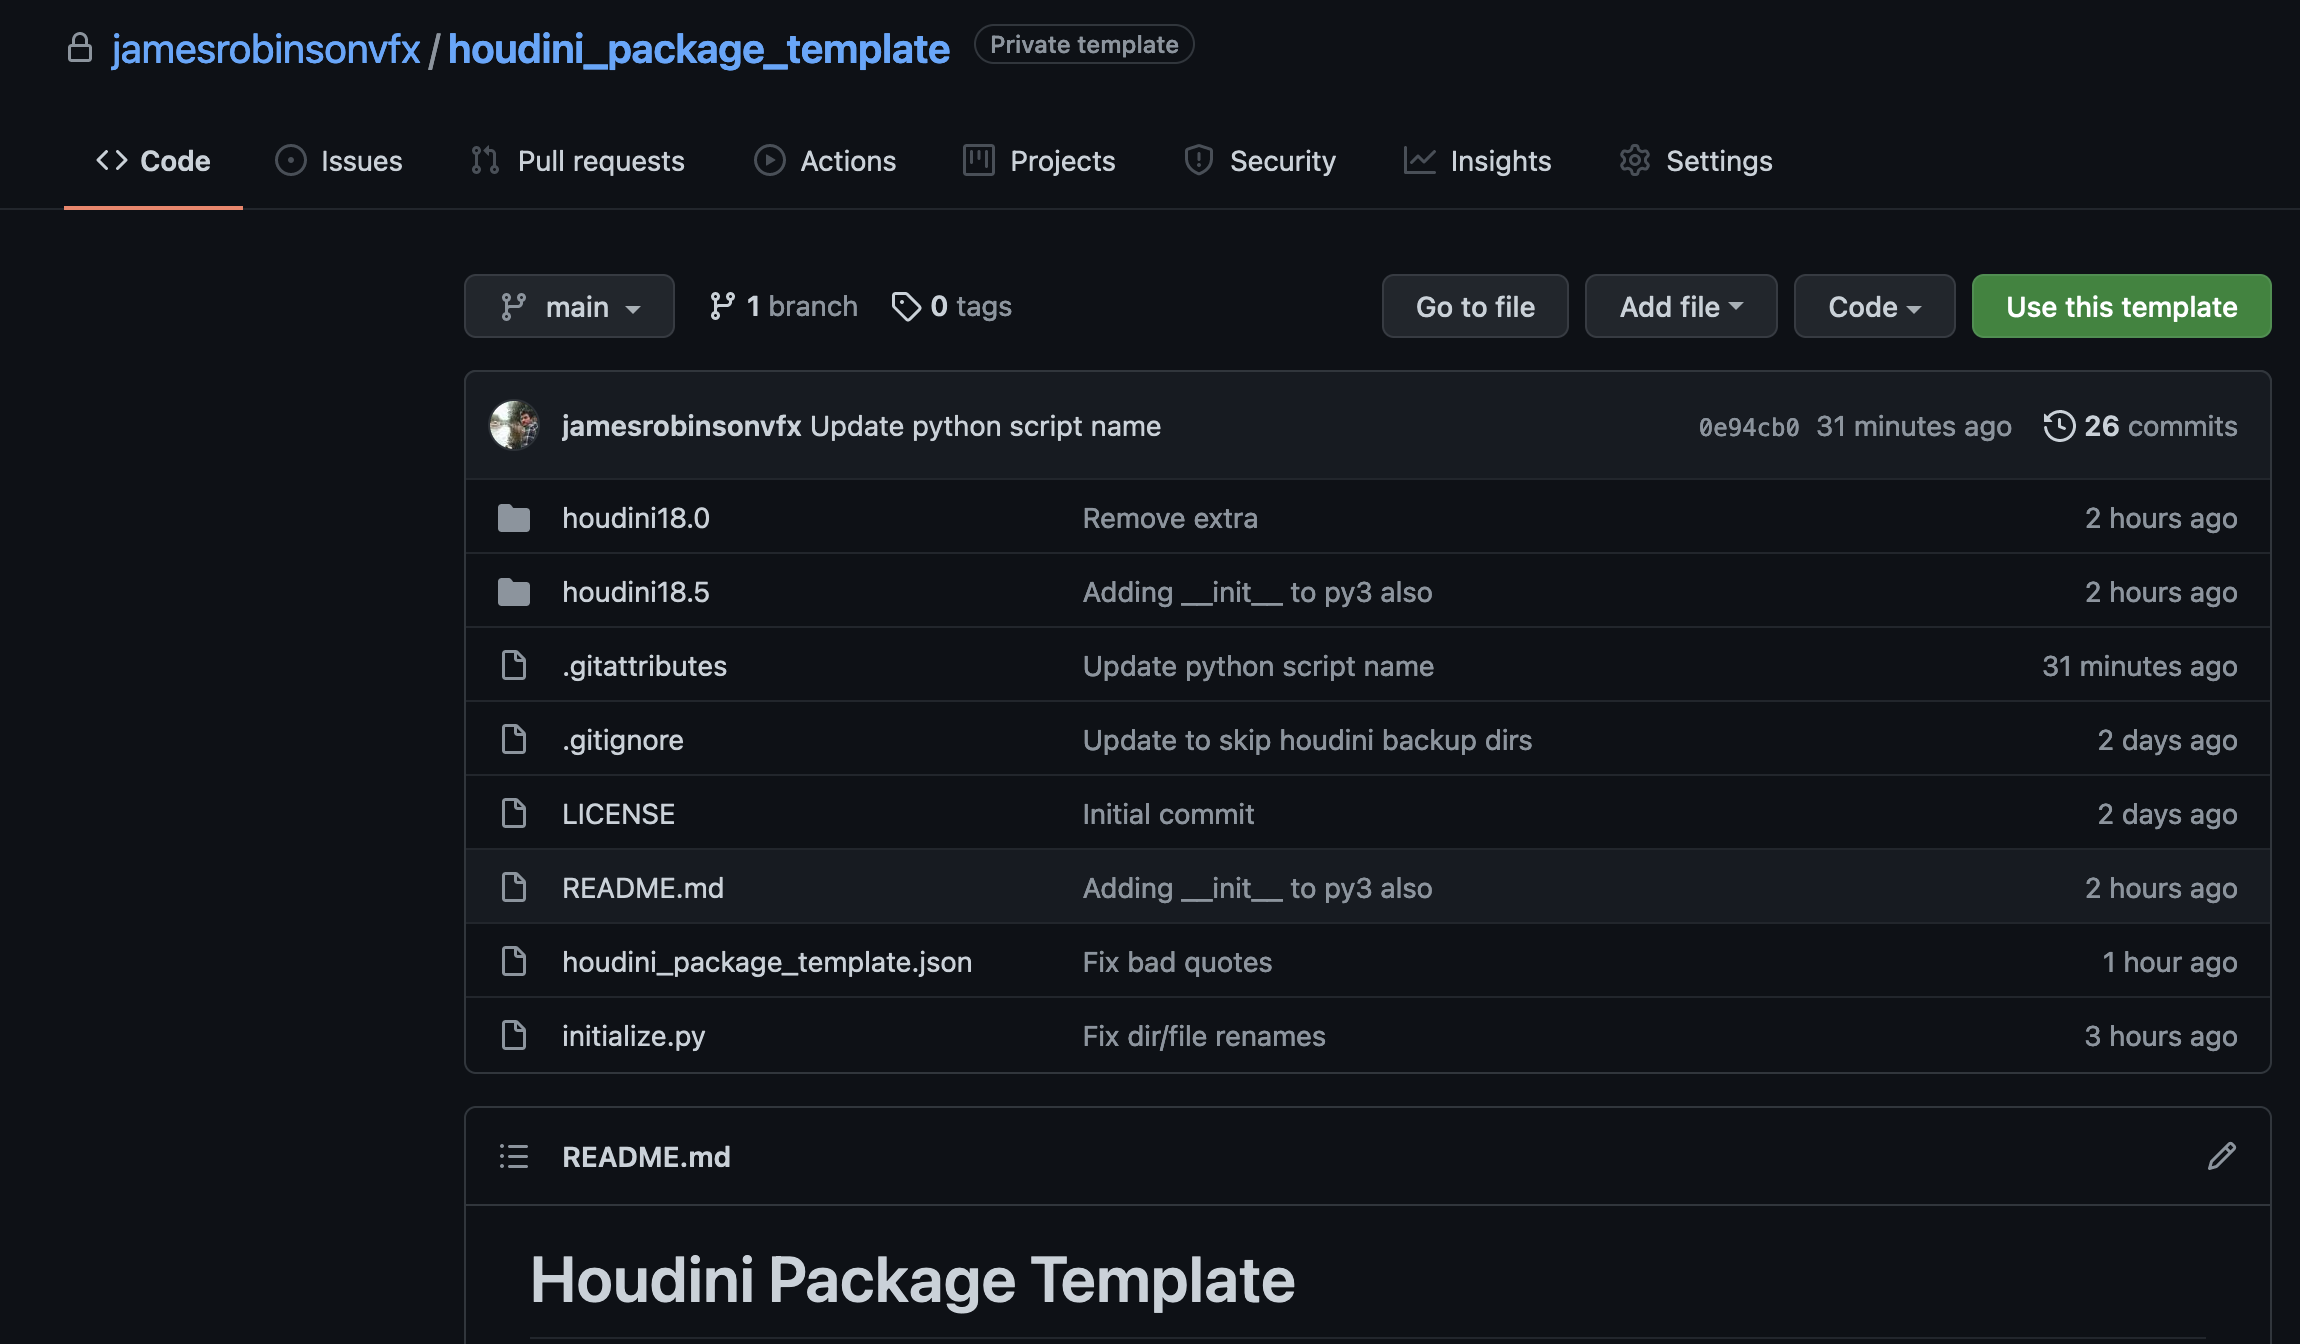
Create a repository from this template
Creating a repo from a template
Clone your new repository to your local machine
1git clone git@github.com:jamesrobinsonvfx/demo_tool.gitOpen the repository and run
./initialize.py(See below for extra use instructions)Start building your tool!
Zip it up and share it with others (Optional)
Run the following to create a
.ziparchive without any of the extra git fluff (See the included.gitattributesfile for a list of excluded files)1git archive --format zip --output ../demo_tool.zip mainIf you’d like to do an actual release, read about how to do that on the GitHub docs. You’ll be able to add your
.ziparchive as part of the release links.You can tell people to grab it by pointing them to
1https://github.com/jamesrobinsonvfx/demo_tool/releases/latest/download/demo_tool.zip
Installing Your Package
At some point, you’ll want to install your package into a Houdini session for everyday use and testing.
In order for Houdini to be able to include your tools in a session, it needs to be able to find them. Houdini looks in a set of paths and locations and loads in stuff that it finds along the way. Commonly, these would be things like Python libraries, HDAs, custom shelves, etc. You could just manually copy the contents of each of these to their respective folders (python2.7libs, hda, toolbar…), but keeping track of all that can become a nightmare! With Houdini Packages, you can keep all that stuff together in one location, and with a specially formatted package .json file, you can tell Houdini where to look for it.
There’s a multitude of ways you can configure your packages to load. I highly recommend visiting the Houdini Packages documentation for more detailed info.
Outlined below are two favorite ways of setting up and loading packages. Package .json files can be placed in any packages folder within a Houdini Location.
For studio-wide tools, that’s usually best located at your facility’s $HSITE.
For single users you’ll probably want to use your $HOUDINI_USER_PREF_DIR if you don’t have $HSITE set up. I will be using $HOUDINI_USER_PREF_DIR to make it easy to follow along.
Method 1: Packages live in the packages directory
With this method, package folders and their .json package files live directly inside
$HOUDINI_USER_PREF_DIR/packages.
Houdini will not automatically search for
.jsonfiles inside of subfolders within thepackagesdirectory.
Setup
Assuming your package is called demo_tool.
- Copy your Houdini Package folder to
$HOUDINI_USER_PREF_DIR/packages/demo_tool - Copy
demo_tool.jsonfrom$HOUDINI_USER_PREF_DIR/packages/demo_toolto$HOUDINI_USER_PREF_DIR/packages
Your $HOUDINI_USER_PREF_DIR directory structure should now resemble:
| |
demo_tool.json can be quite simple:
| |
path is a shorthand keyword we can use to insert a location to the $HOUDINI_PATH.
When used in a package .json file, the
$HOUDINI_PACKAGE_PATH variable refers to the location of the package that is currently being read.
There are certain conditional statements (if/then) we can add to load different folders based on the Houdini version. See the actual
houdini_package_template.json file for a more detailed package definition that does that.
Method 2: Packages live somewhere else
It’s not uncommon to have a separate location on disk that holds 3rd party tools. In this case, we can dynamically add locations to tell Houdini to search in using the package_path keyword.
This this scenario, we have a packages folder located inside a known Houdini location, like $HOUDINI_USER_PREF_DIR. There is just one .json file inside. Its job is to point to other places where packages might live:
| |
| |
Elsewhere on disk, we have a folder called studio_tools, filled with 3rd party Houdini Packages.
| |
Each Houdini Package keeps its [package_name].json file inside. No need to move/copy it like Method 1.
| |
This method can be a great way to keep a bunch of 3rd party tools organized. It also makes it easy to programmatically add/remove packages, or even have multiple locations, such as a set of “production” packages and another set of “experimental” or “dev” packages.
As you can see, both ways have their pros and cons. And these certainly are not the only possible configurations!
Caveats
If you notice that HDAs/OTLs aren’t loading, but everything else in your package is, you might need to explicitly set $HOUDINI_OTLSCAN_PATH. While this shouldn’t be necessary, I’ve found that some tools/wrappers can block OTLs being loaded from custom additions to $HOUDINI_PATH. Setting this environment variable in your package is pretty straightforward:
| |
This used to be included in the template, but this should be more of an edge case, so it has been removed.
Tools for Different Houdini Versions
Every year, SideFX releases a new minor version of Houdini (18.0, 18.5, etc.). Sometimes they make pretty sweeping changes that can cause your tools not to work between versions.
Rather than fighting this and trying to make your tool work for every release of Houdini, you can just create a new version of your tool to work with the next release.
The easiest way to release your stuff for a new version is to simply copy your latest houdiniX.Y folder, update the number, and see if it works! For example, when Houdini 19.0 is released, you can do the following:
Copy
houdini18.5and all of its contentsPaste it
Rename
houdini18.5tohoudini19.0Update the
demo_tool.jsonfile to load from that location when usinghoudini19.01{"houdini_version >= '19.0' and houdini_version < '19.5'": "$HOUDINI_PACKAGE_PATH/demo_tool/houdini19.0"}
Alternative: Per-build package
In some cases, especially for tools that might depend on specific production builds (render engines, custom HDK nodes), it might be important to have a unique release of your tool per build.
In this case, instead of having a houdini18.5 folder, you might have multiple folders named for each build number, ie. 18.5.496, 18.5.593
| |
Instead of writing conditional statements for every single build, there’s actually an undocumented shorthand we can use:
| |
Another Alternative: Who cares about the build version?
It’s not actually necessary to have separate versions of your tool for different Houdini versions. As long as you have properly named folders that follow the structure of $HFS/houdini.
| |
| |
This also works, but remember it could be a little trickier to maintain across Houdini versions.
Template Contents
This Houdini Package structure mimics the one you’d find in $HH (aka $HFS/houdini). This makes it easy for Houdini to pick up its contents. When you tell Houdini to add a directory to the $HOUDINI_PATH, any folders that match the name/structure found in $HH will be made available to you in your houdini session.
$HFSis the location of the Houdini installation. You can type this in a File Browser from within Houdini to see exactly where this is.
If you ever want to add more folders inside, check out the contents of $HH.
For example, if you wanted to add some testing geometry to your package, refer to $HH for where that might be (probablygeo). Or maybe you want to extend the Gear Menu in the parameter editor with some of your own custom functionality. In $HH you see that there is a ParmGearMenu.xml file. To mimic the structure, you would simply add your own ParmGearMenu.xml file right inside the houdini18.5 directory. I think you get the point!
Several common directories and files have been included. Any of the files/folders inside houdiniX.Y can be removed if they aren’t needed for your project. At a bare minimum, like a package with a single HDA, your package structure should probably look something like this:
| |
Package .json
This is the file that tells Houdini how to load your tool.
Houdini will search folders called packages for .json files. These .json files can be used to set environment variables when Houdini launches, and add things to the $HOUDINI_PATH so that they are made available to you in the Houdini session.
Think of it like houdini.env, but easier to deal with.
houdiniX.Y
Directory that mirrors $HFS/houdini. By naming it after each minor release, we can easily maintain our tools for forward and backward compatibility.
pythonX.7libs
With Python 3 being the current VFX standard, and more and more DCCs supporting it, python3.7libs has been added to this template as a starting point. A few things to note:
You can have both
python2.7libsandpython3.7libsin the same project. Depending on your Houdini installation, if you’re launching with a Python 3 build, Houdini will use the packages/modules found inpython3.7libs.Python 3 does not necessary require an
__init__.pyfile like Python 2.7 does.
Packages
- You might want a whole Python package that you can import, so one named after the Houdini package has been included.
Modules
- If your Houdini package only needs a single python module (
.pyfile), you can delete the folder insidepythonX.7libs, and simply put your python file directly in there.
MainMenuCommon.xml
Not every tool needs a dropdown menu (nor should they all get one!), but included is a simple template example for where it would need to go, as well as some boilerplate XML that creates a menu named after your package.
toolbar
houdiniX.Y/toolbar is where any .shelf files live. Some packages really benefit from having artist-friendly shelf tools to help make using your tools a bit easier. Inside is some more boilerplate XML to setup a simple shelf named after your package.
Remember if you add any tools to you custom shelf in Houdini, make sure to set the save location to your shelf! Unfortunately, Houdini does not remember your save choices, and will default to saving to the default shelf in your preferences directory!
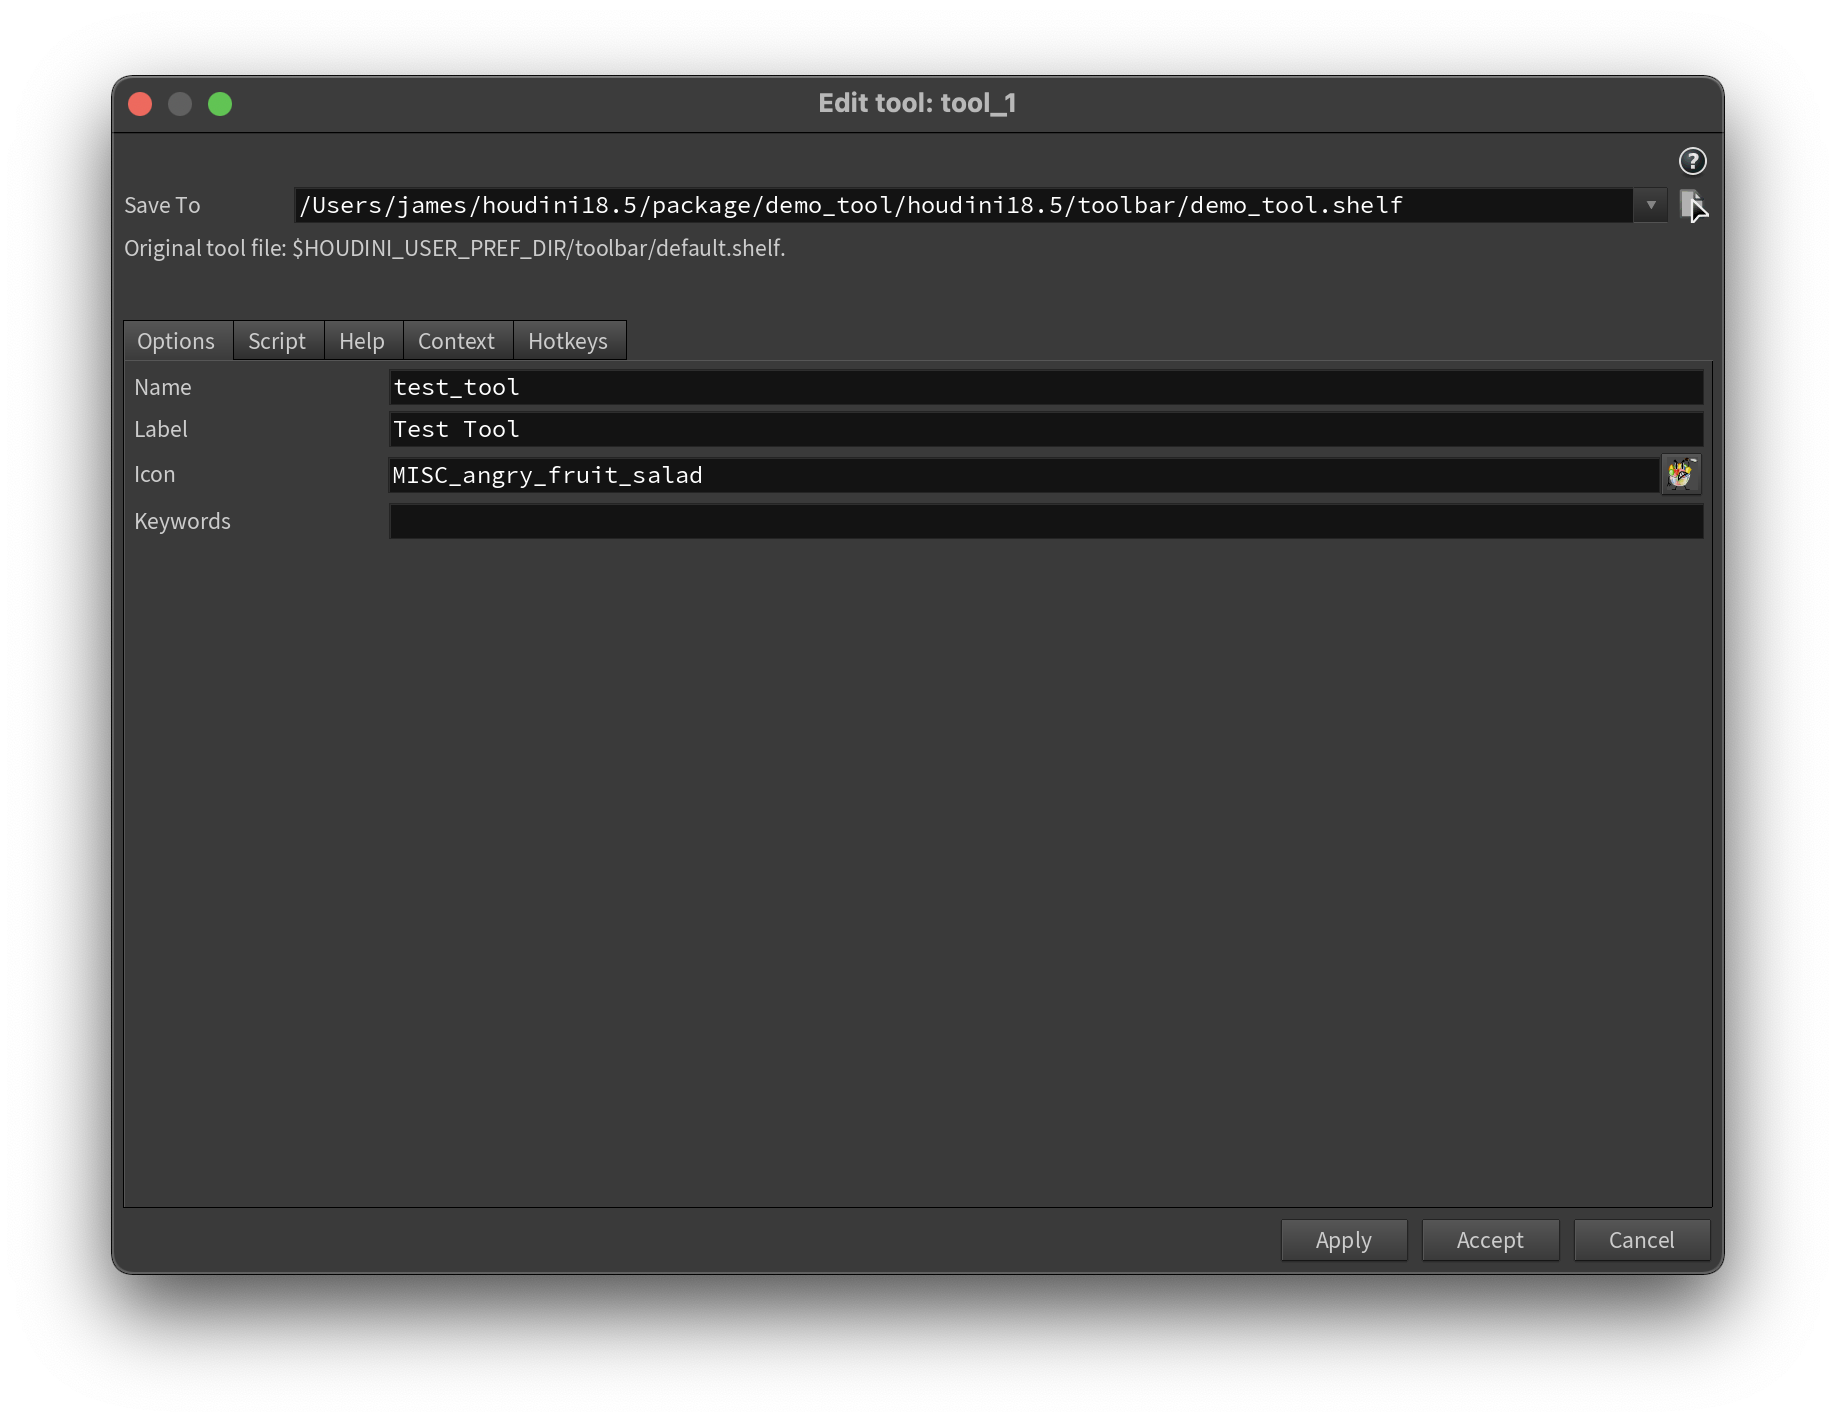
Saving a shelf tool
help/nodes
Help cards for any of your tools/assets can live either directly on the assets themselves, or someplace on disk. Included is the structure for where you need to store custom help card docs, as well as a basic starting template.
Take note of the naming scheme- if you’re following SideFX’s recommended naming and versioning scheme, you’ll probably have tools named like this:
| |
where jamesr is the namespace. The help file for such a node would be called
| |
initialize.py
This script runs a short command-line wizard that lets you set the package name and title. It should be run before making any additions/changes to the template.
macOS / Linux
| |
Windows
| |
If you prefer to do it in one line, you can add the package name and title as command-line arguments:
| |
ie.
| |
Initialization script
You could totally just manually hunt for everything called houdini_package_template, and the tags {% raw %}{% package_name %}{% endraw %}, {% raw %}{% Package Title %}{% endraw %} and {% raw %}{% PACKAGE_NAME_UPPER %}{% endraw %}, and replace them manually. Or you can use the script (just use the script).